
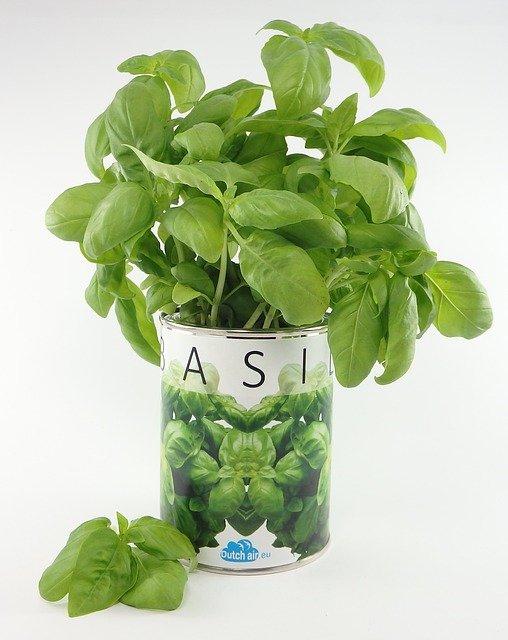
Basil (Ocimum basilicum) is one of the most well-known herbs in the world, and one of the most versatile too. You can grow Basil using cuttings or from seeds.
Growing basil from cuttings is preferable and is known as propagating basil.
This herb is important not only in the culinary world but also has numerous health benefits. It has antioxidant, antiviral, and anti-inflammatory properties and is one of the most powerful superfoods.
What do you need for growing Basil?
Growing basil does not require a lot of materials and that is what makes it so easy. You may probably have all these materials in your house itself.
- Basil cuttings
- Scissors
- Water
- Glass jar/glass bottle/pot
- Good potting soil
- Ceramic or plastic pots (at least 5 inches deep) with good drainage
- Rooting hormone (optional)
- Artificial Light (optional)
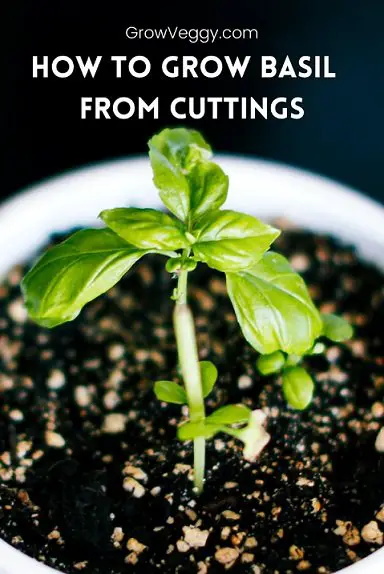
Steps to Grow Basil from Cuttings
You can follow the below steps for growing your Basil from cuttings.
Step 1: Sourcing – Where to get basil cuttings?
Basil is easily available in many parts of the world, although there are different varieties that are native to different regions.
Here are a few ways you can source the Basil Cutting.
- There is a good chance that you or someone you know already have a basil plant in the home or garden because it plays such an important role in food and health. If you already have a plant at home, you can get one whenever you want. If someone you know has a plant, you could request them for a cutting.
- Basil plants are easily available at plant nurseries. They don’t cost much, and it is also a one-time investment because once you buy just one plant and then you can grow as many as you want.
- Basil is available in supermarkets in the produce section.
- Sometimes, when you go to a Thai restaurant, they will give you a basil trimming accompanying your dish, which can also be used to propagate basil.
All in all, basil is not difficult to get hold of and once you do, it is time for the next part of the process: trimming a cutting.
Why does basil smell different? Like Licorice, cinnamon, lemon, cat urine
Step 2: Trimming a basil cutting
If you are trimming a cutting straight from a live plant, there are a few things to keep in mind.
- Select a stem that is at least 3 to 4 inches long and does not have any seed stock or flowering crown. Cutting longer stems might not root well, or might grow into a long plant instead of a bushy one.
- When you find that stem, cut just below a leaf node with a sharp pair of scissors or a knife, preferably at a 45-degree angle. This node is where new shoots and leaves grow. It looks like a tiny bump on the stem. Try to be precise at cutting just below the node, because the new roots start to form from this swollen area.
- Remove most of the leaves as well, by pinching with your fingers or a pair of scissors. Leave only the top two sets. that would help in the process of photosynthesis. Removing most of the leaves ensures that the energy is focused on root production rather than leaf production. Also, if there are leaves in the water, they will form mold and your water won’t stay clean for long.
- Be gentle while working with the stems, because broken stems will not form roots.
Step 3: Build the root structure
There are two ways in which you can propagate basil cuttings. One makes use of glass jars and water, while the other way is shorter by planting directly in a pot.
– Soak the cutting using water
This is the traditional way to grow basil cuttings by placing the trimmed cutting in the water.
Let us look at the steps to follow –
- Use any jar, pot, or bottle that is waterproof, but using a clear one is better so you can constantly check the root development.
- Ideally, place one cutting per jar. However, if you want to save space, you can put in a maximum of 5 cuttings in one jar. But you should be careful while removing them.
- The leaves should be outside resting on the rim of the jar so that they can easily absorb sunlight and have access to fresh air. If the rim is too large and the cutting keeps sliding into the jar, make temporary support out of card paper with a hole in the middle through which you could insert the stem.
- Keep the jars on the windowsill or any place where it can get good sunlight. If no sunlight is available, you can use artificial lights as well. Too much direct sunlight can also burn up the leaves, so make sure the light isn’t harsh.
- The water needs to be clean and fresh. It is good if you change the water every day, but if it is not possible, do it at least every 2 days. This stops the formation of any algae or bacteria and prevents the roots from rotting.
– Soak the cutting in Soil
Once you have your cutting ready, you can plant it directly in the soil. As you are using little stems, it is preferable to plant them in a small pot. Later we will move them into a larger one.
You can use a growth hormone for your roots to grow faster and healthier. It is an optional method and roots grow fine even without the hormone.
The growth hormone is available in a gel or powder form at any local garden center or nursery.
One thing to remember if you are using a growth hormone is that you have to wait for at least a year before consuming any part of the plant.
- If you are using a rooting hormone, dip the bare stem in water, and then in the hormone.
- Stick the stems in small temporary pots filled with moist soil. Roots form at the cut as well as the nodes, so make sure that the bottom of the growing nodes is also in the dirt. This gives it more places to form roots and multiplies the chances of growing properly.
- It is important for the pots to be moist, but not too wet. Basil requires well-drained soil and grows the best in a humid and moist environment, but it will rot if there is excess water.
- Because the pots are small, it is possible that the cuttings may dry out. One thing you can do is put all the pots in a tray and fill the tray with some water. That way the cuttings can soak up as much water as they need. Refilling the water only once every two to three days will ensure that they are not in the water all the time.
- After 2 to 4 weeks you will start to see roots sprouting from the stem. They need to be at least 1 to 2 inches in length before you remove them. It is important to have a good amount of roots, because some roots may die in the process of shifting.
Step 4: Potting
When the roots grow to two inches, you can remove them from water or a small pot to be planted again.
- You need to keep ready a planter or a pot with fresh soil. If you remove the cuttings from the water long before your pot is ready, the root hair can dry out and are likely to die.
- Placing a coffee filter at the bottom prevents the soil from escaping.
- It is better if the pot is 5 inches or deeper so that it gives space for the roots to grow.
- Place one cutting in one pot. Make sure the soil is loose so that you can easily place the cutting in there and ease some of the roots into the soil. If you force it into the soil, the roots may break off or get damaged.
- Cover the rest of the roots and two inches of stem with more soil. Put enough soil that the plant is supported on its own. Keep the pot in a sunny place or use artificial lights.
- When the plant is in the soil mix, you can cover it lightly with clear plastic, which creates humidity for the plant to grow well.
Some people never transfer the new plant to a pot and keep on growing it in the water itself. As long as the water is always fresh, this is a technique that could work.
After 5 to 8 weeks, you may start seeing some indications of growth with growing leaves and stems.
In case, the leaves turn yellow, this could be due to the replanting of the basil. Pluck out these yellow leaves in this case for the plant to continue to grow.
Soon you will have your very own basil plant. You can use it in cooking, as well as herbal medicine, and in essential oils.
Step 5: Caring for newly formed basil
It is important to let the newly formed basil get used to sunlight slowly. Too much sudden sunlight can burn the leaves. It is better to increase the time period of the plant in the sun day by day until they are completely used to it.
The growth of the plant will depend on the light, climate, soil, and so on, so it will vary from place to place.
If you are growing basil for the leaves, you will have to keep cutting off the flowering buds.
Basil starts to grow from the seeds and once it has grown and starts to grow flowers and produce seeds, it indicates the end of its life cycle. After producing seeds the plant dies.
When you nip off the flowering crowns, the plant continues to grow leaves and lives much longer.
Growing basil from cuttings is a fairly easy process and a very fun science experiment. With very few materials, time, and effort, you can grow your own basil plants.
Benefits of growing basil from cuttings
Here are a few benefits.
- Grows Faster – Basil grows faster from cuttings than it does from sowing seeds.
- Cost-Effective – You can grow your plant practically for free.
- Fun science experiment – If you use transparent jars or bottles, you can see the growth of the roots.